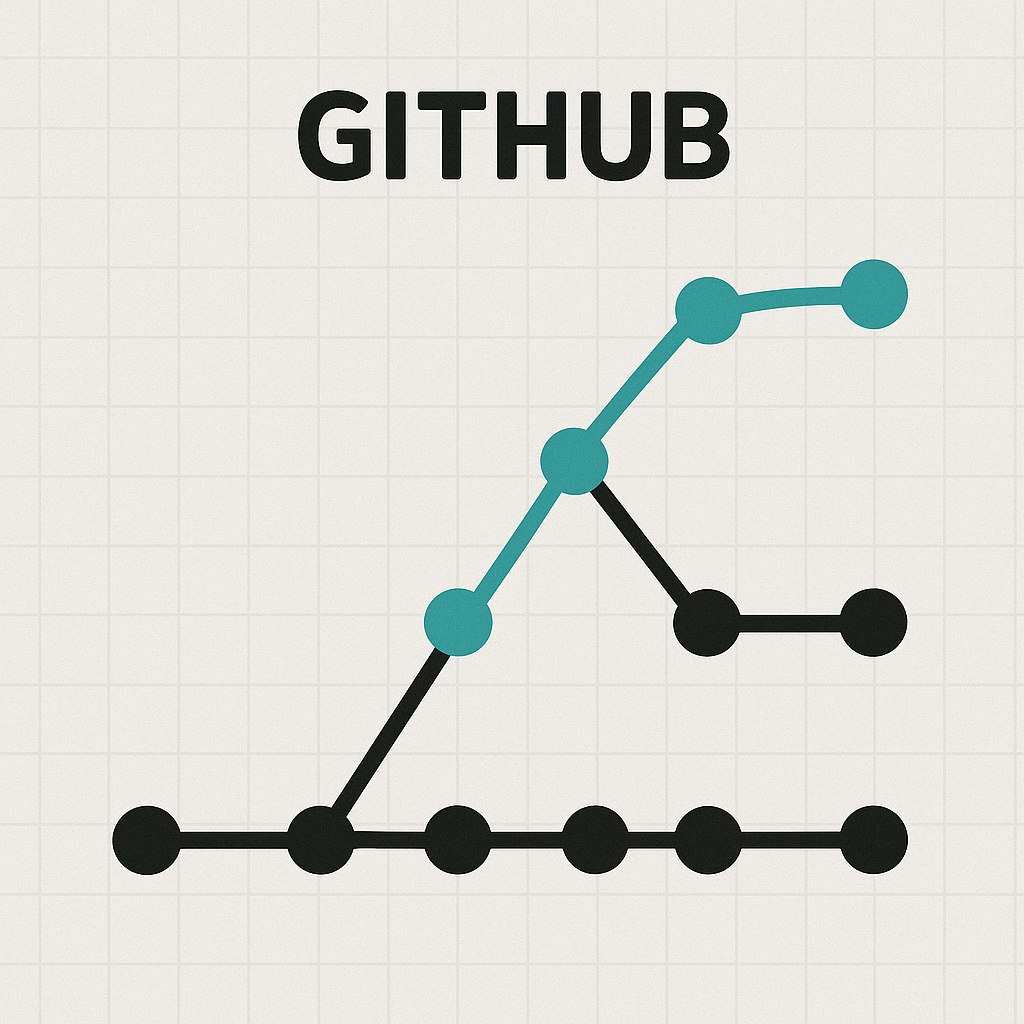

GitHub Branching Explained: Best Practices You Need to Know
GitHub is an essential tool for software developers, and mastering its branching system is crucial for managing code and collaborating with teams. Branching allows developers to work on different parts of a project without affecting the main codebase, ensuring smooth development and easy integration. In this blog, we will break down the concept of GitHub branching, explain the best practices for using branches effectively, and provide useful tips to make your workflow more efficient.
What is GitHub Branching?
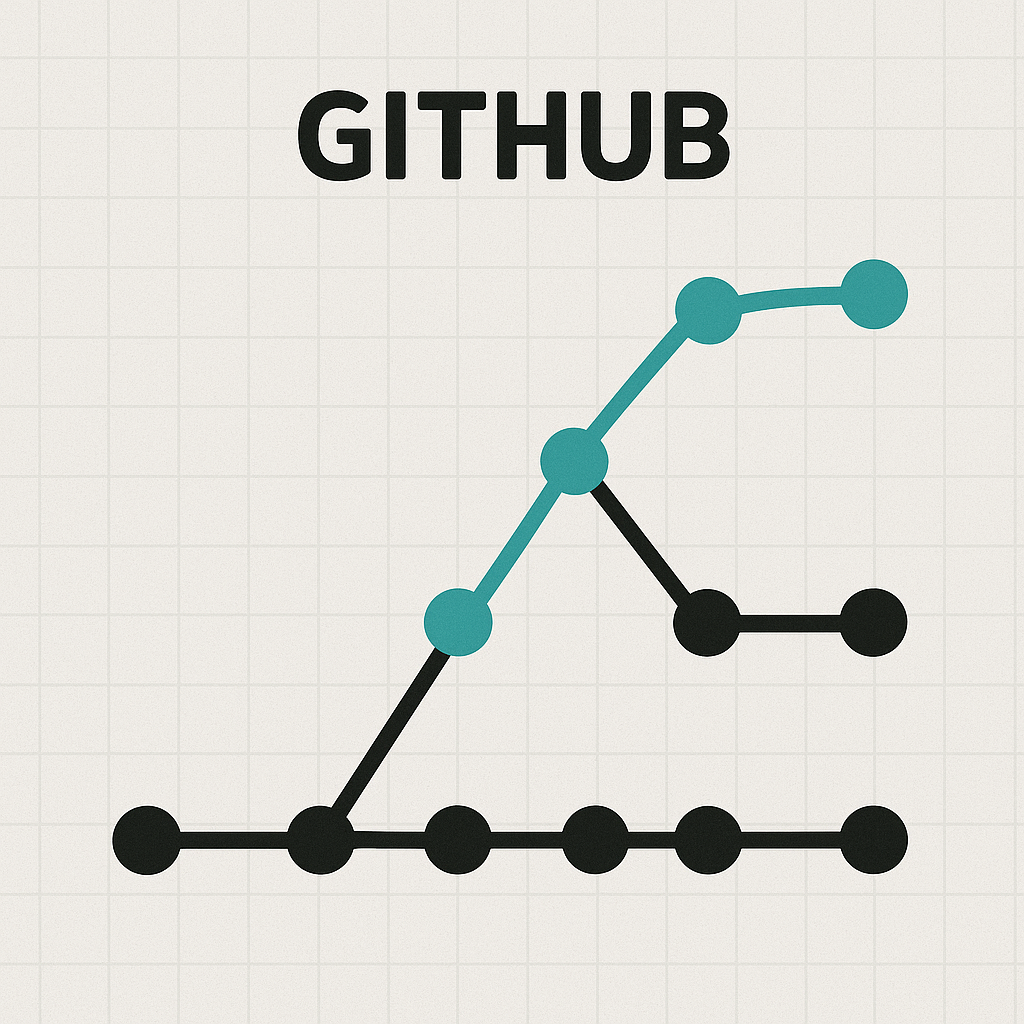
In GitHub, branching is a version control technique that allows developers to create isolated environments within a repository. These "branches" enable you to work on new features, bug fixes, or experiments without affecting the main codebase, often referred to as the main or master branch. Once you're done with the changes, you can easily merge the branch back into the main codebase.
Branching is one of the most powerful features of Git, enabling multiple developers to work on the same project simultaneously without interfering with each other's work. By creating branches, you can work on different features or fixes independently and merge them when they’re ready. Here’s why branching is so important.
Why is Branching Important in GitHub?
Branching is essential for maintaining an organized and stable codebase, especially in large projects with multiple collaborators. It enables parallel development, meaning that developers can work on different tasks without interfering with each other. Some of the primary benefits of branching include:
- Isolation of Features and Bug Fixes: By creating separate branches for each feature or bug fix, you can ensure that each task is isolated. This makes it easier to track progress and test new features without affecting the main codebase.
- Collaboration: Developers can work in parallel on their own branches. When they're ready, they can merge their changes into the main codebase.
- Safe Experimentation: With branches, developers can experiment with new features or approaches without the risk of disrupting the main codebase. If something goes wrong, you can simply delete the branch.
- Efficient Code Review: When you use branches, it becomes easier to create pull requests (PRs), facilitating smoother code reviews and faster feedback.
Types of Branches in GitHub
Before diving into best practices, it’s important to understand the different types of branches you may encounter in a GitHub repository.
1. Main (Master) Branch
The main branch is the default and central branch of a repository. It typically holds the stable, production-ready version of the project. Developers avoid committing directly to the main branch unless they’re pushing fully tested and stable code.
2. Feature Branches
Feature branches are created for developing new features. These branches are temporary and are merged back into the main branch once the feature is complete. Feature branches allow developers to work on new functionality without affecting the main project.
3. Bugfix Branches
Bugfix branches focus on fixing specific bugs in the project. Similar to feature branches, these branches are merged into the main branch after thorough testing.
4. Release Branches
Release branches help prepare the project for a new version. They allow for final adjustments, such as bug fixes, performance enhancements, or documentation updates, before the code is released to production.
5. Hotfix Branches
Hotfix branches are used to resolve urgent issues in production. These branches enable quick fixes and are typically merged into both the main branch and the development branches.
Best Practices for GitHub Branching
To ensure a smooth and efficient workflow when using branches in GitHub, follow these best practices. By doing so, you can keep your codebase organized and reduce the chances of conflicts during development.
1. Start with a Clean Main Branch
Before creating a new branch, make sure your main branch is up to date. Fetch the latest changes from the remote repository and pull them to your local machine:
git checkout main
git pull origin main
Starting with an up-to-date main branch ensures that your new branch will be based on the most recent version of the code, preventing unnecessary conflicts.
2. Create a Descriptive Branch Name
When creating a new branch, choose a name that clearly describes its purpose. Descriptive names help you and your collaborators easily understand the branch's objective.
For example:
- feature/user-authentication – for adding a user authentication feature
- bugfix/login-error – for fixing a login-related issue
Be sure to use hyphens to separate words, and avoid using spaces or special characters in the branch names.
3. Work in Small, Focused Branches
Instead of working on large, monolithic branches, create smaller branches focused on individual tasks. This practice makes it easier to test and merge changes. For instance, create separate branches for different components or steps of a feature. Smaller branches also make code reviews more manageable.
4. Commit Often and Write Clear Commit Messages
Make small, frequent commits as you work on your branch. Frequent commits ensure that you don't lose any progress, and they help you keep a clear history of changes. Be sure to write clear, descriptive commit messages.
- Good commit message: "Refactored user login logic for better performance."
- Bad commit message: "Updated code."
Use the following commands to commit your changes:
git add .
git commit -m "Your commit message"
5. Keep Your Branches Short-Lived
Ideally, branches should be short-lived and merged back into the main codebase as soon as possible. Prolonged branches can diverge from the main branch, leading to conflicts when it's time to merge. The quicker you merge your work, the easier it will be to stay in sync with the rest of the team.
6. Use Pull Requests for Code Review
Once your branch is ready to be merged into the main branch, create a pull request (PR). A pull request allows your teammates to review your code before merging it. This step is crucial for maintaining high code quality and catching potential issues early.
To create a pull request, navigate to the Pull Requests tab in GitHub, click New Pull Request, and select the branch you want to merge.
7. Resolve Merge Conflicts
Occasionally, you may encounter merge conflicts if two developers modify the same lines of code. Git will flag these conflicts, and you’ll need to resolve them manually. To do this:
- Open the conflicting file(s).
- Choose which changes to keep and edit the file as needed.
- Mark the conflict as resolved with:
git add <file-name> - Commit the changes and push the resolved branch.
GitHub Branching Example: Step-by-Step Guide
Here’s a step-by-step guide to using GitHub branching:
- Create a New Branch:
git checkout -b feature/add-search-bar - Make Changes and Commit:
git add . git commit -m "Added search bar to homepage" - Push the Branch:
git push origin feature/add-search-bar - Create a Pull Request: On GitHub, navigate to your repository and click New Pull Request.
- Merge the Pull Request: Once your pull request is approved, click Merge to integrate your changes into the main branch.
Conclusion
GitHub branching is a powerful tool that allows developers to work efficiently and collaboratively. By following the best practices, such as using descriptive branch names, committing often, and reviewing code through pull requests, you can ensure a smooth and organized workflow. Mastering GitHub branching is essential for both solo developers and teams, and it will significantly improve your version control process.
For further reading on GitHub and version control, check out our other blogs, including How to Master Git for Beginners and Collaborating with GitHub Pull Requests.
You might also like: