
GitHub Workflow for Beginners: Everything You Need to Know
GitHub is an essential tool for modern software development, and whether you're just starting out or looking to refine your workflow, understanding GitHub's core principles is crucial. To begin with, mastering the basics of GitHub helps you manage version control efficiently and collaborate seamlessly with others. In this guide, we will break down the basic GitHub workflow, helping beginners grasp the essential steps for version control, collaboration, and project management. Moreover, along with clear explanations, we’ll include links to valuable resources and visual aids to enhance your learning experience, making the journey even smoother.
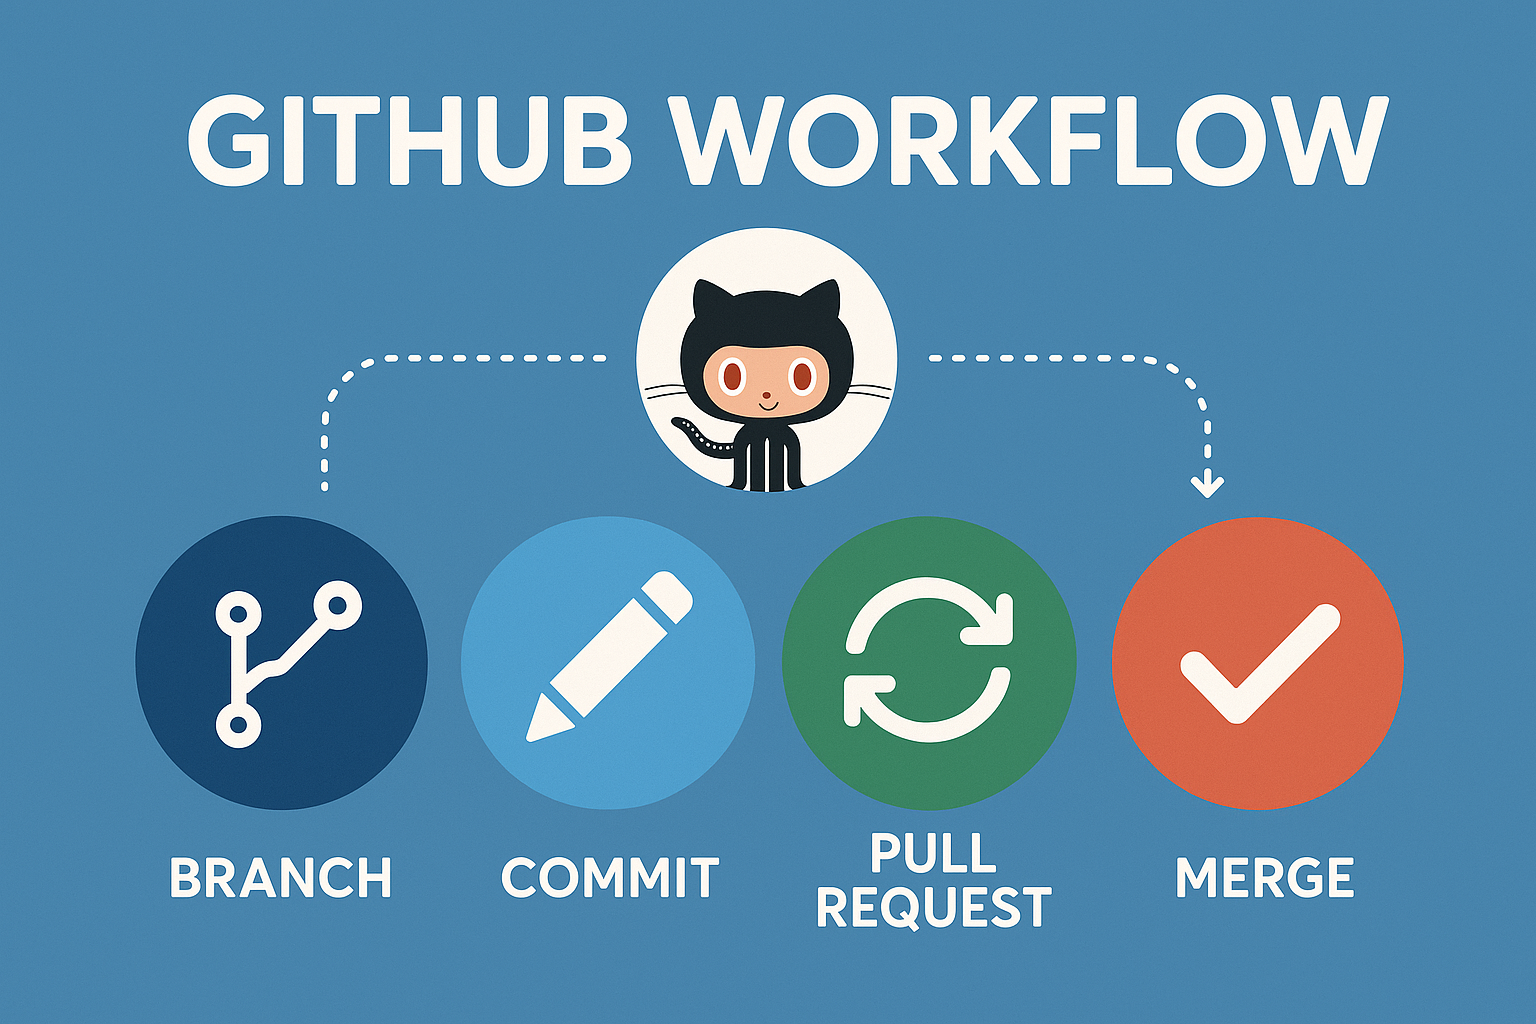
What is GitHub?
To put it simply, GitHub is a platform that allows developers to store and manage their code repositories. It uses Git, a powerful version control system that tracks changes to files and enables collaboration among multiple people. While Git alone is incredibly useful, GitHub takes it a step further by offering a variety of features like pull requests, issues, and GitHub Actions, which collectively make it an indispensable tool for developers worldwide.
Before you can fully leverage GitHub’s power, you’ll need to create an account—an easy first step. However, you might wonder: what about the workflow? How do you use GitHub efficiently for your projects? Fortunately, that’s exactly what we’ll explore next as we dive into the basics of GitHub's workflow.
The Essential GitHub Workflow for Beginners
1. Clone a Repository
Before you can work on any project in GitHub, you need to clone the repository to your local machine. Cloning means creating a local copy of a repository on your system, which you can modify and commit changes to.
- Command:
git clone https://github.com/username/repository-name.git
By cloning a repository, you can easily work on the code, make changes, and then push them back to the main repository. You can even contribute to open-source projects by forking them first and then cloning your fork.
2. Create a Branch
Once you've cloned or created a repository, the next crucial step is to create a branch. Branching is an important feature of GitHub that allows you to work on new features, bug fixes, or experiments without affecting the main codebase (typically called the main or master branch). Essentially, when you create a new branch, you’re working on a separate copy of the project. This isolation ensures that changes made in your branch won’t disrupt other parts of the project until you’re confident they're ready and decide to merge them back into the main branch.
- Command to create a branch:
git checkout -b new-feature
By creating a separate branch for each feature or bug fix, you ensure that the main branch remains stable, and you can easily track and merge changes when needed.
3. Make Changes Locally
Once your branch is set up, you can begin working on the project locally. Whether it's adding new features, fixing bugs, or improving existing code, all changes are made within your branch. Once you're done, stage the changes to commit them to Git.
- Command to stage changes:
git add . - Command to commit changes:
git commit -m "Add new feature"
Staging your changes with git add and committing them with git commit allows you to track your progress and keep your history clean.
4. Push Changes to GitHub
Once you have committed your changes locally, the next step is to push them to GitHub. This is crucial because pushing uploads your updates to the remote repository associated with the project, making them visible and accessible to others. Consequently, your team members or project collaborators can review, test, or build upon your work.
- Command to push changes:
git push origin new-feature
Once pushed, your changes are available in your branch on GitHub.
5. Create a Pull Request
A Pull Request (PR) is a way to propose changes you've made in your branch to be merged into the main project. You can create a PR on GitHub, and project maintainers will review your changes before merging them. This step is crucial for collaborating with other developers.
- Steps to create a pull request:
- Go to the GitHub repository.
- Click the "New Pull Request" button.
- Select your branch and compare it with the
mainbranch. - Add a descriptive title and summary.
- Click "Create Pull Request."
Once your PR is created, others can review your code and provide feedback. If everything looks good, the PR will be merged into the main branch.
6. Merge the Pull Request
When a pull request is approved, it can be merged. This integrates the changes from your branch into the main project.
- Command to merge pull requests (for maintainers):
git checkout main git merge new-feature
Merging updates the main branch with the changes made in your feature branch.
7. Pull the Latest Changes
Moreover, if you're working in a collaborative environment, other contributors will be making changes to the repository too. Therefore, to keep your local repository up to date, you need to pull the latest changes regularly.
- Command to pull changes:
git pull origin main
This ensures that you always have the latest version of the project on your local machine.
Best Practices for Using GitHub Workflow
As you become more comfortable with the GitHub workflow, it’s important to adopt a few best practices to keep your projects organized and efficient:
First and foremost, commit often, with clear messages — a commit message should clearly describe what changes have been made and why, helping both you and your collaborators understand the project's history.
Additionally, keep your branches focused — each branch should represent a single feature or bug fix, making it easier to review and merge changes without conflicts.
Finally, use pull requests for collaboration — even for personal projects, using pull requests helps you track changes more systematically and ensures cleaner, more manageable code integration.
For more detailed Git commands, check out our Git and GitHub Made Easy guide.
Why GitHub Workflow Is Essential for Developers
As a developer, GitHub is an essential tool for version control and collaboration. Whether you are working on a solo project or contributing to open-source projects, GitHub allows you to efficiently manage your codebase. Plus, learning how to use GitHub will significantly improve your employability, as GitHub is widely used in the tech industry.
Boost Your GitHub Skills with CodeforIndia Bootcamp
If you're new to coding and GitHub, structured learning programs like the CodeforIndia Full Stack Web Development Bootcamp can help you master GitHub and other essential developer tools. The bootcamp includes hands-on projects where you can practice your GitHub workflow and work on real-world coding assignments, giving you valuable experience in version control, collaboration, and team-based development.
Conclusion
In conclusion, GitHub is a powerful tool for managing code and collaborating with others. By consistently following this GitHub workflow for beginners, you can streamline your development process and contribute more effectively to open-source projects. Furthermore, incorporating GitHub into your learning journey, especially through structured programs like the CodeforIndia Bootcamp, will help you become a proficient developer faster and with greater confidence.
You Might Also Like: